

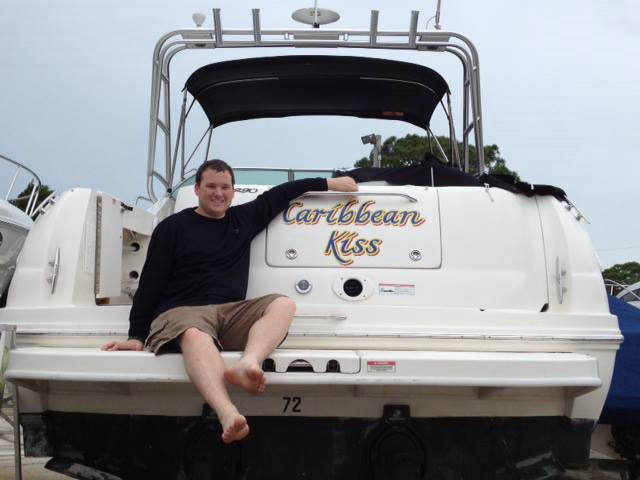
Discover the high-quality custom boat lettering we’ve built our name on.
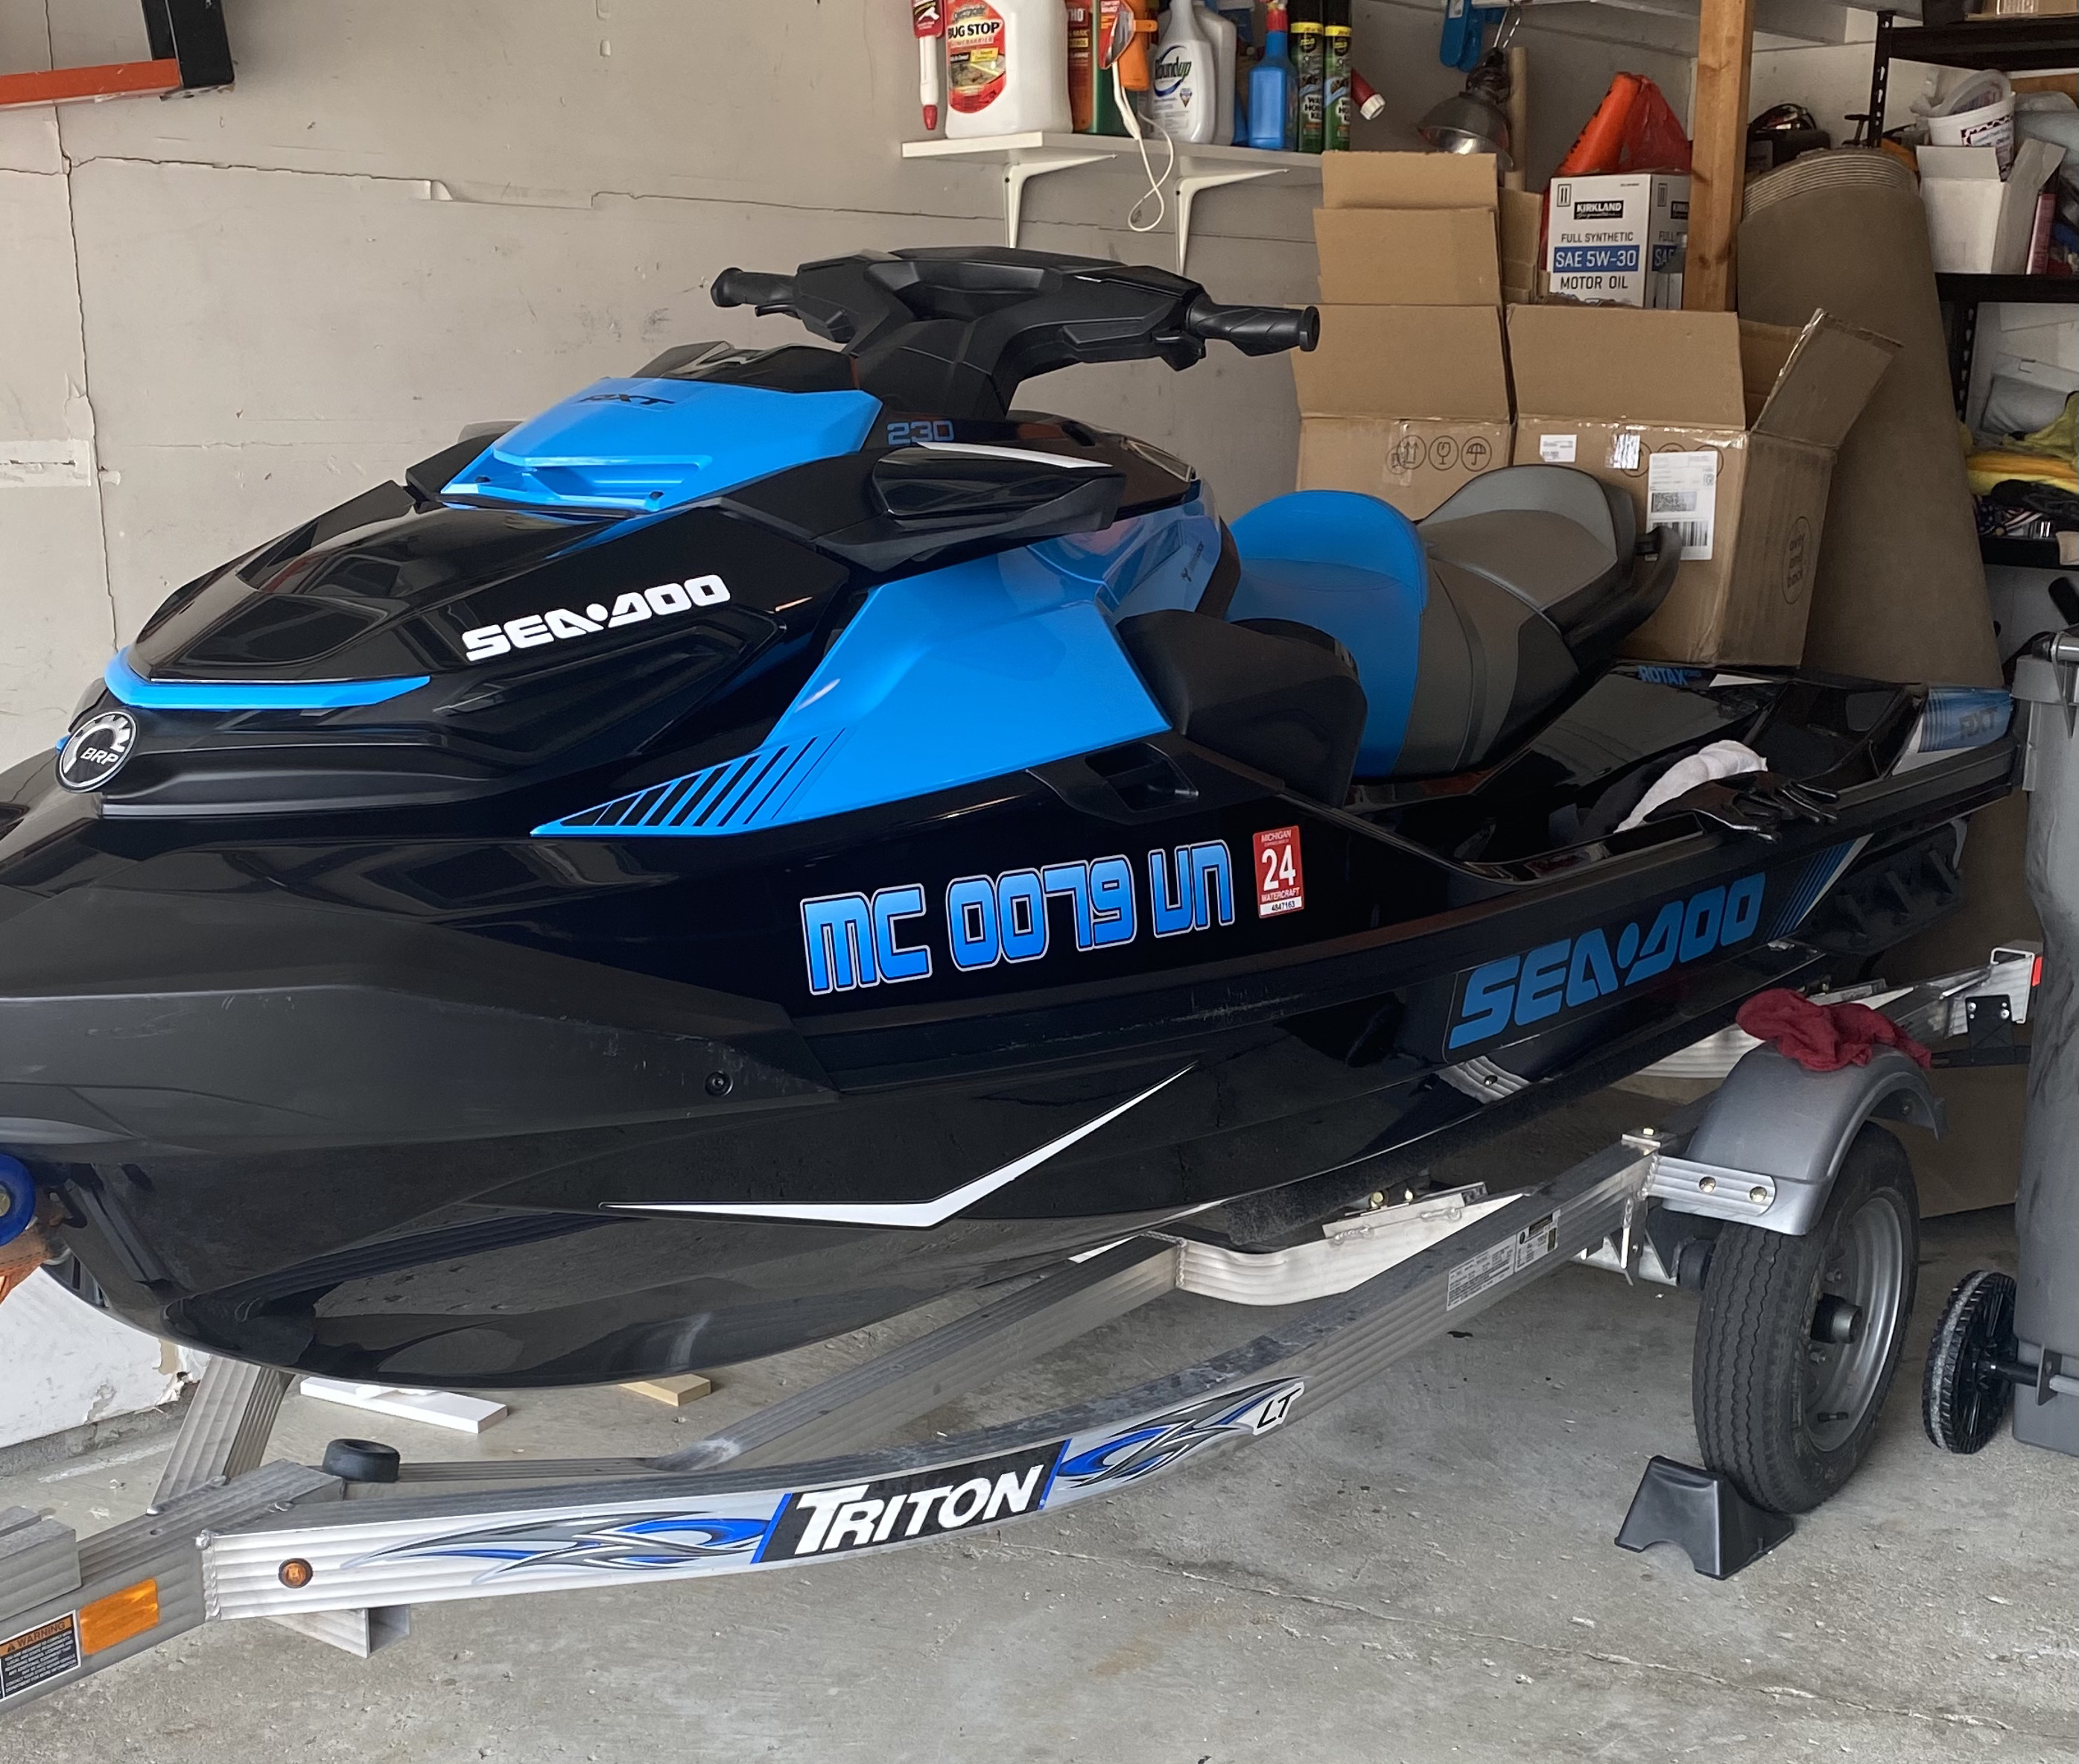
Our numbers are both functional and visually appealing, making your boat stand out.

Our high-quality vinyl ensures that the name you choose stays clear and vibrant, no matter the conditions.
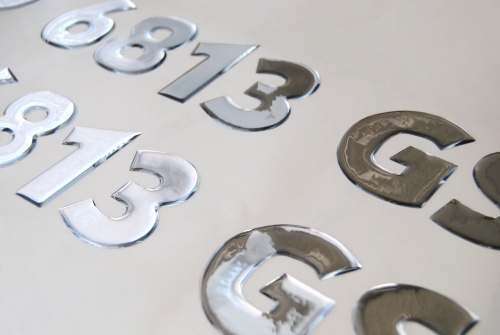
Top-notch 3D boat decals that make any boat look more attractive.
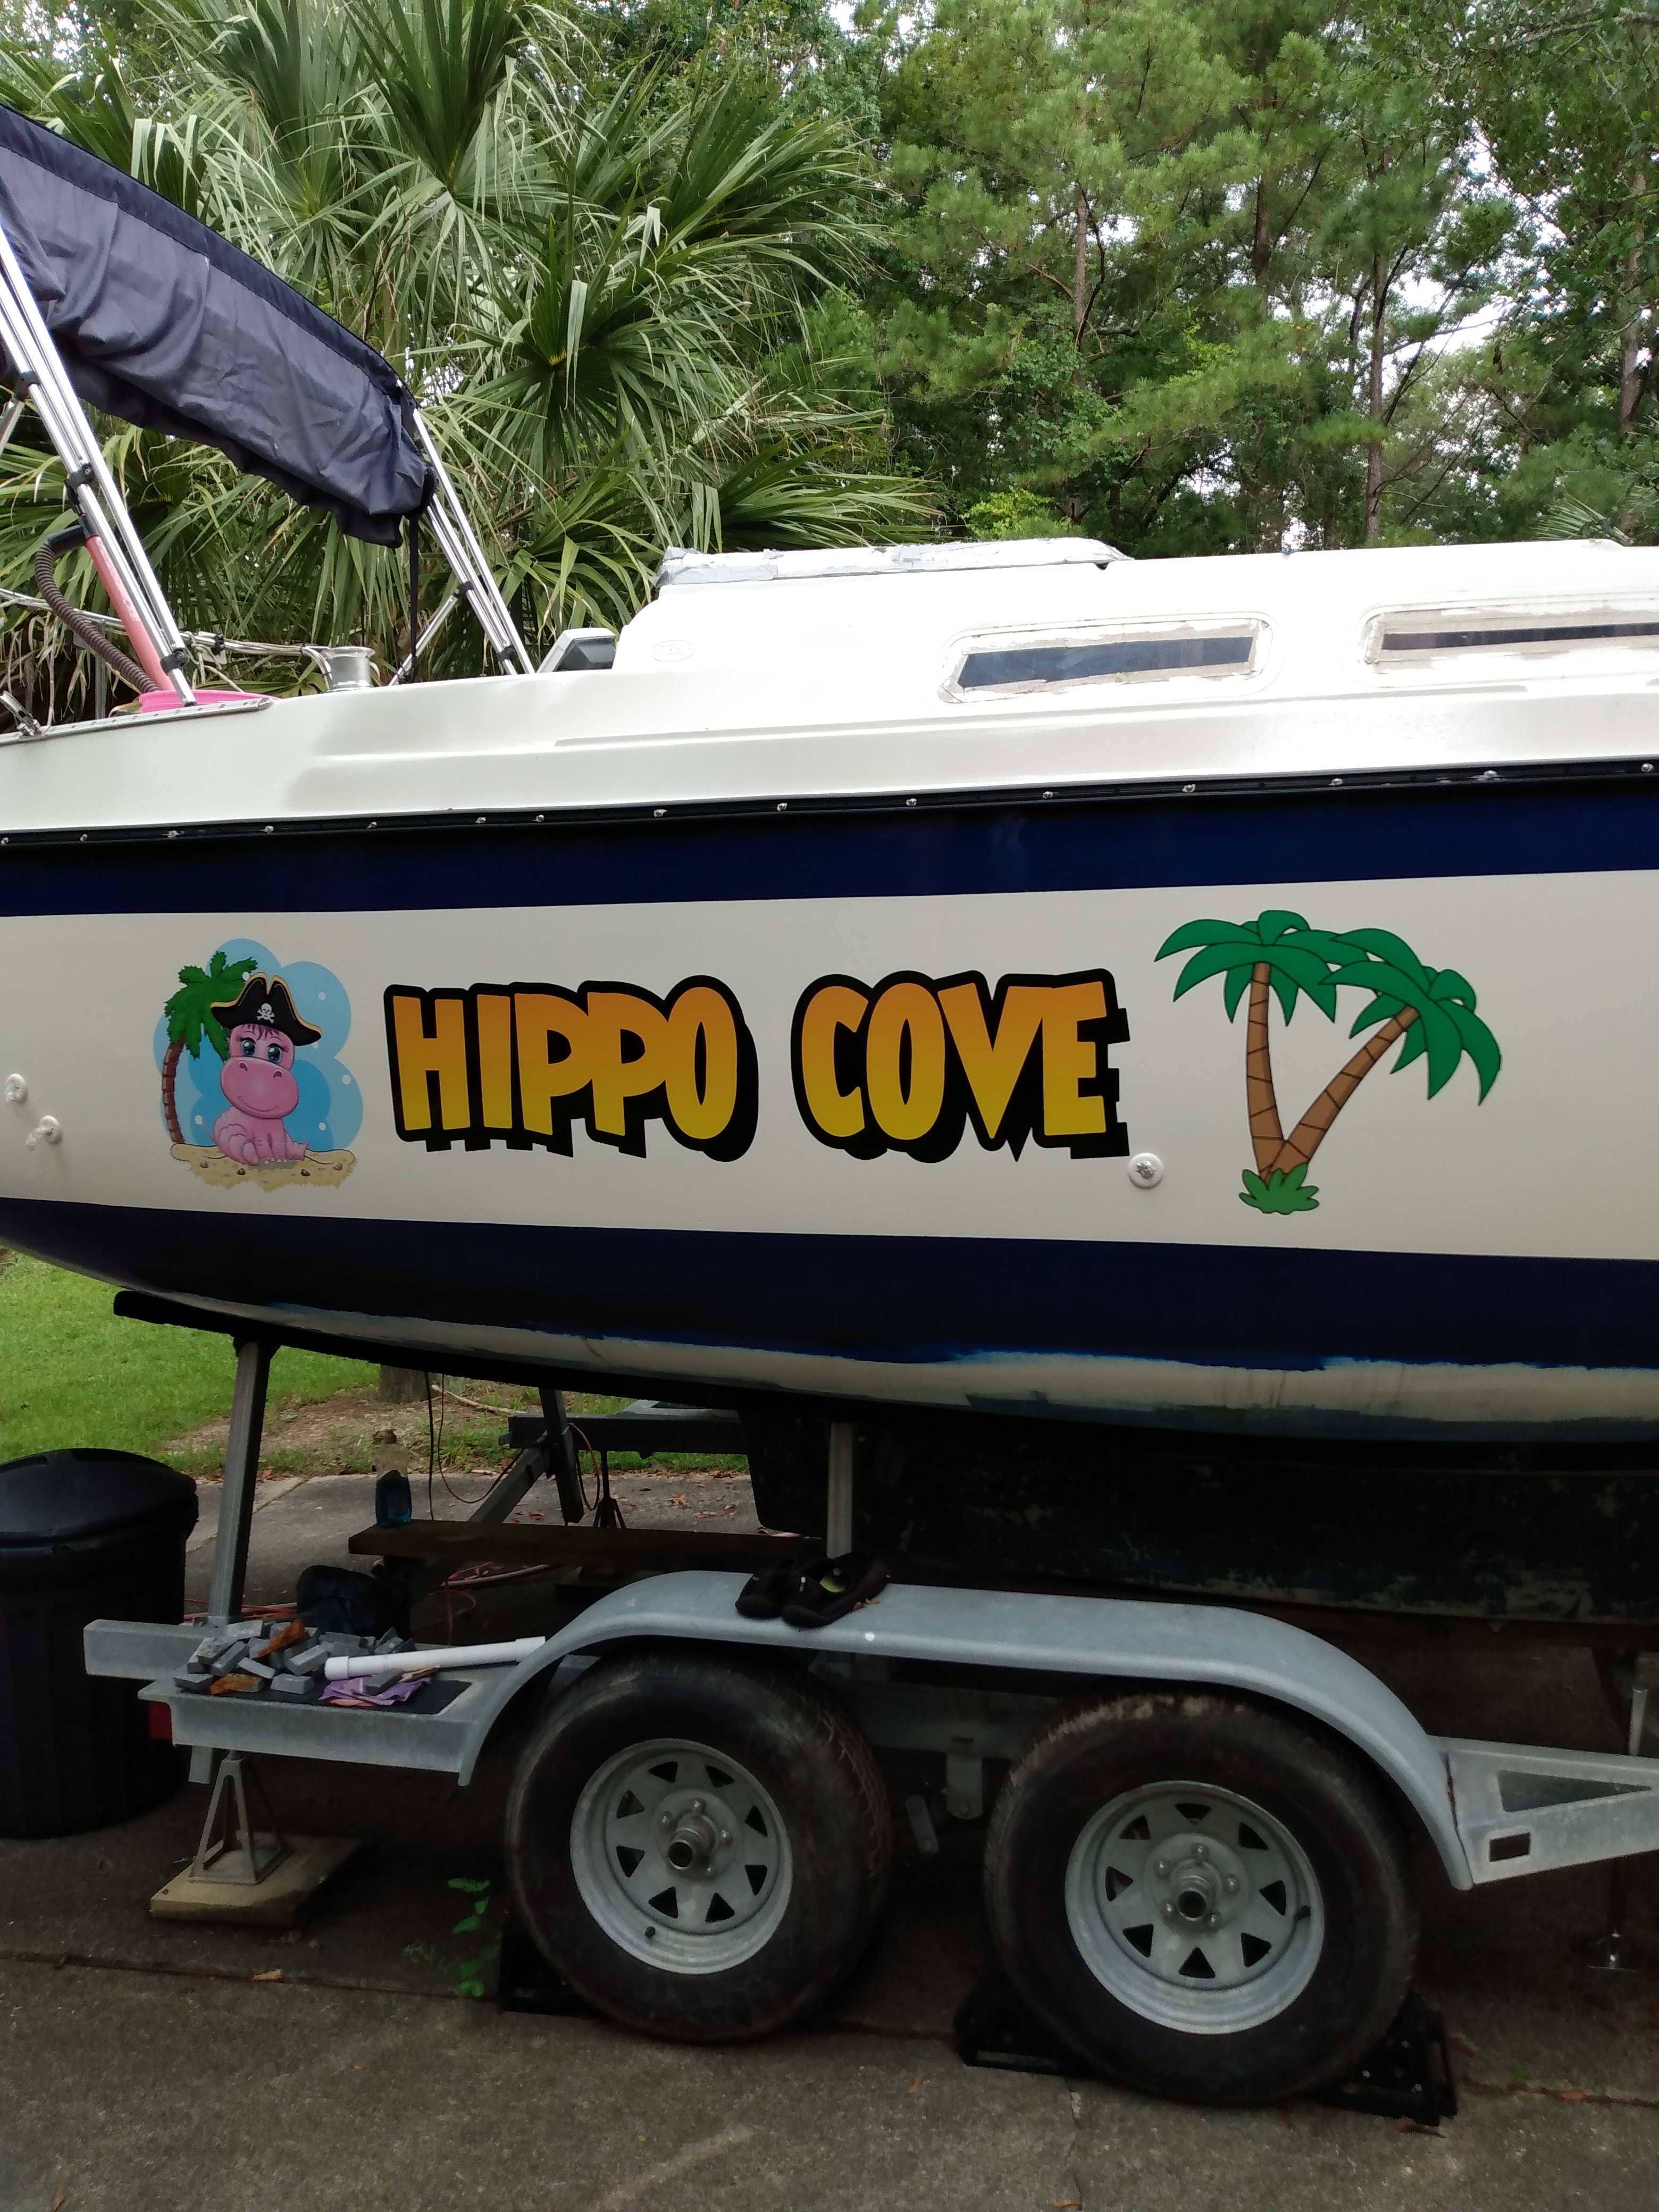
We craft our vinyl boat decals to support your vision with high boat letters and lasting durability.
Our Guarantees
*See Guarantees section for offer details
1 (855) 292-7636
boatusgraphics@boatletteringtoyou.com